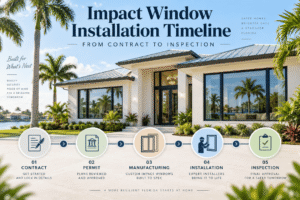
The impact window installation timeline in Florida includes several stages: signing the contract, final measurements, permitting, manufacturing, delivery, installation and final inspection.
While the physical installation may take only a few days for a straightforward project, the complete process can take several weeks or longer. The exact timeline depends on the number of windows, manufacturer production schedules, permit processing, product availability and installation complexity.
At Guardian Shield Windows & Doors, we believe understanding the process beforehand helps homeowners plan their replacement projects with realistic expectations.
Stage 1: Contract Signing and Product Selection

Your impact window project begins with an agreed scope of work. The contract should identify the products being installed, the installation scope, payment arrangements and relevant project conditions.
During this stage, you should understand:
- which manufacturer and product series you are purchasing
- the number of windows and doors included
- the frame colours and glass configurations
- what installation and finishing work is included
- who handles permits and inspections
It is also important to clarify whether the quoted lead time begins when the contract is signed or when the manufacturer receives the completed order.
Stage 2: Final Measurements
Before manufacturing begins, accurate measurements are essential. The installer verifies the dimensions and configuration of each opening.
This process may also identify conditions that were not apparent during the initial quotation. For example, an opening could have unusual framing dimensions or require additional preparation.
Impact windows are frequently manufactured to fit particular openings, so measurement accuracy directly affects installation.
Stage 3: Permit Application and Approval
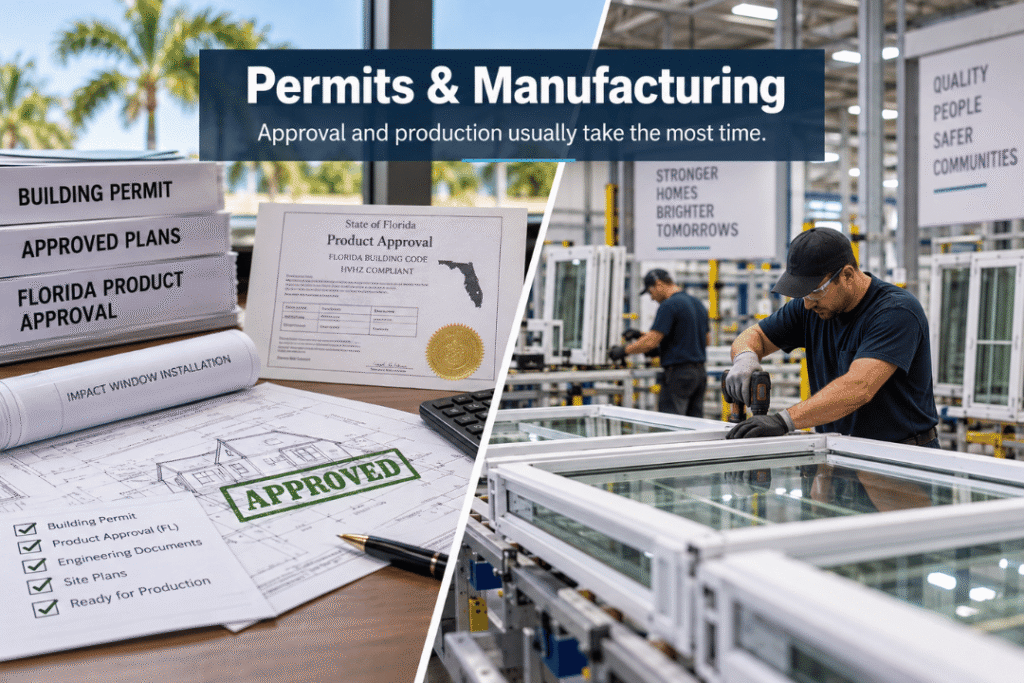
Most complete impact window replacements in Florida require a building permit. The permit application allows the local authority to review the proposed work and relevant product documentation.
The application may include a window schedule, product approval information, installation details and additional documentation where necessary.
Florida’s statewide product-approval framework establishes compliance pathways for regulated products, including windows and exterior doors.
Permit processing can take longer when documents are incomplete or additional review is required. Homeowners should confirm that the required permit has been issued before installation begins.
Stage 4: Manufacturing and Product Lead Time
Once the manufacturer receives and accepts the completed order, production can begin. Standard configurations may have shorter lead times than oversized or highly customised products.
Factors that may affect production include the selected manufacturer, glass package, frame finish, specialty shapes, order volume and factory backlog. Imported products may also involve additional transportation and distribution stages.
However, locally manufactured windows are not automatically available sooner. A product that is already in stock could arrive faster than a custom-made domestic unit.
Stage 5: Delivery and Product Verification
When the windows arrive, the installer should verify the delivery before beginning installation. This helps identify missing units, incorrect sizes, damaged frames or glass problems before the existing windows are removed.
Delivery verification is especially important for whole-home projects involving numerous configurations.
Stage 6: Preparing Your Home for Installation
Once the products are ready and installation is scheduled, homeowners can prepare the property.
Move furniture away from the windows and remove fragile items near the work areas. Take down curtains, blinds or decorations that could interfere with installation. Ask your installer whether any additional preparation is necessary for your property.
Stage 7: Removing the Existing Windows
Installation normally begins by removing the existing window units. The crew must work carefully to avoid unnecessary damage to the surrounding structure.
Once the old window is removed, the opening can be examined more closely. Unexpected conditions may become visible at this stage.
These might include deteriorated wood, damaged substrates or previous installation problems. If structural repairs are required, they may affect the original schedule. The installer should explain any additional work and obtain the appropriate approvals before proceeding.
Stage 8: Installing the New Impact Windows
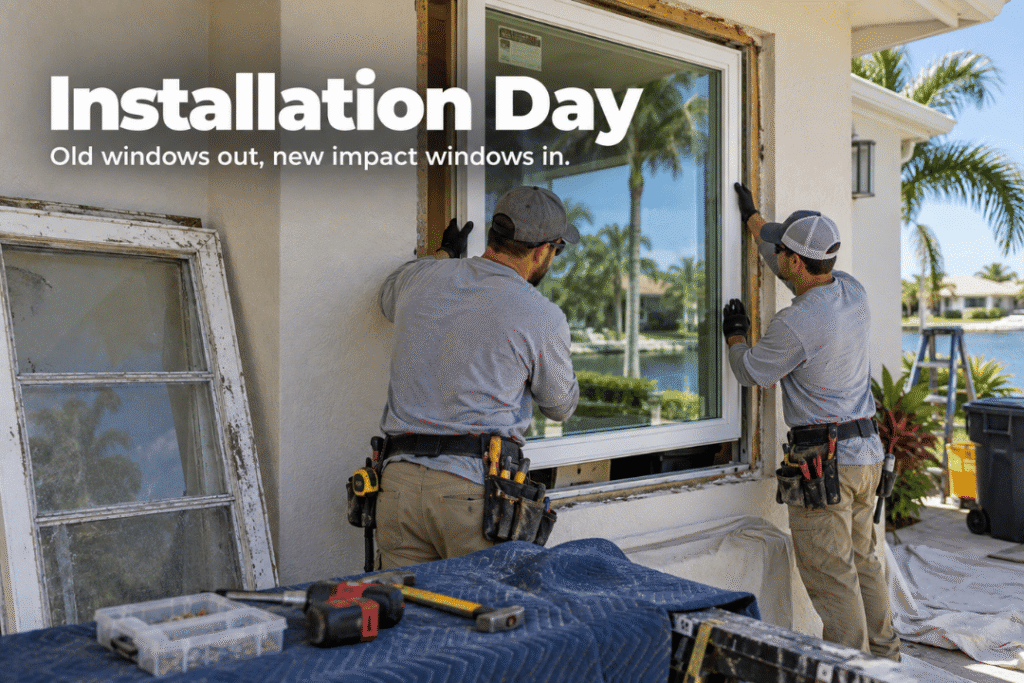
The new units are positioned within the prepared openings and installed according to their approved instructions. Important installation considerations include frame positioning, approved anchoring, fastener spacing, substrate requirements and water management.
The manufacturer-approved installation details determine how the product must be secured. Where an intermediate inspection is required, work must remain accessible until the building department has approved the relevant stage.
Stage 9: Sealing, Finishing and Cleanup
After the windows have been installed and required intermediate inspections addressed, the crew completes the applicable finishing work. This may include sealants, trim, interior finishing and exterior repairs within the agreed scope.
The installer should also check that operable windows open, close and lock correctly. This is a useful time to ask about cleaning instructions, maintenance and warranty documentation.
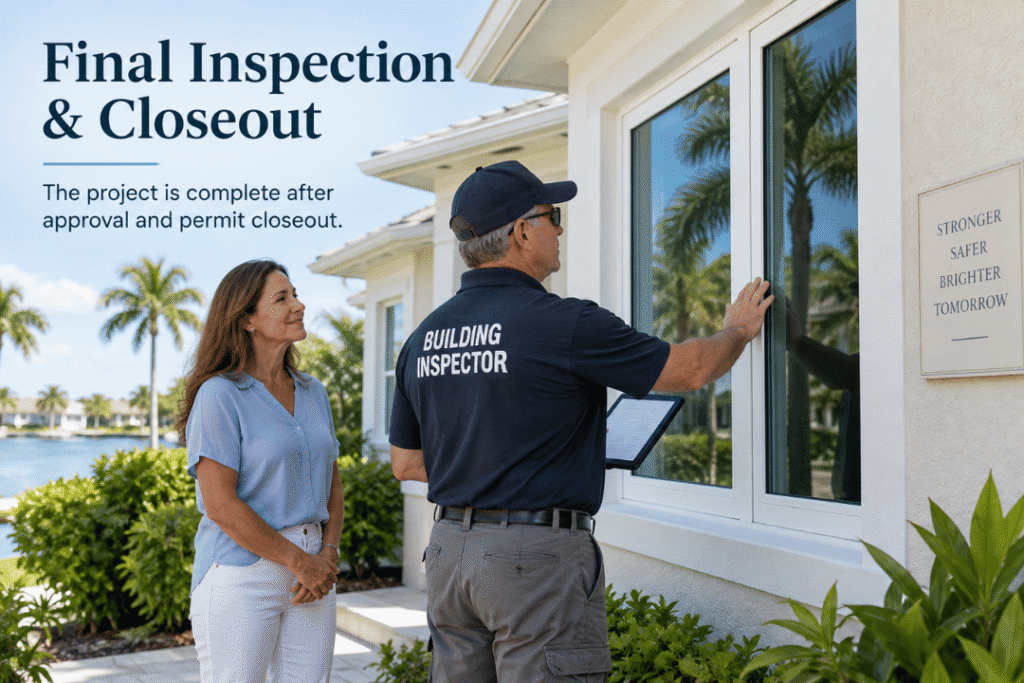
Stage 10: Final Inspection
The local building department performs the required final inspection after the installation is ready for review. Depending on the jurisdiction and project, this may involve reviewing the approved products, visible installation details and records of earlier inspections.
If deficiencies are identified, the contractor must address them and arrange any required reinspection. Homeowners should confirm that the permit has been officially finalised rather than assuming completion based only on the physical installation.
How Long Does Impact Window Installation Take?
The timeline is easier to understand when divided into separate project stages.
Illustrative installation timeline
Planning example only. Stages can overlap, and actual dates depend on the contractor, manufacturer and local building department.
- Contract and final measurements
Confirm the scope, window configurations and dimensions. - Permitting and manufacturing
Submit documents and manufacture the ordered products. These stages may overlap where appropriate. - Delivery and installation
Check the delivered windows, prepare openings and install the approved assemblies. - Inspection and permit closeout
Complete required inspections, corrections and administrative closeout.
For planning purposes, ask your installer for a written schedule showing the estimated dates for each milestone.
What Can Delay an Impact Window Project?
Manufacturing backlogs are one possibility, particularly for custom configurations. Permitting delays can occur when the application requires corrections or additional documentation.
Unexpected structural conditions may become apparent after old windows are removed. Weather can also affect installation, especially when exterior openings need to remain exposed.
Other common scheduling considerations include product damage during delivery, inspection availability and homeowner association approvals where applicable.
Should You Install Impact Windows Before Hurricane Season?
If hurricane protection is the main reason for the project, starting early provides more flexibility.
Waiting until a storm is forecast does not leave enough time for a normal replacement project involving consultation, permits, manufacturing and installation.
Permanent impact protection is valuable because qualifying windows are already in place once installation is complete.
However, homeowners should not assume their property has upgraded protection until the relevant installation work has actually been finished. Plan ahead and ask about current product availability rather than relying on last-minute scheduling.
Is the Installation Complete After the Crew Leaves?
Physical installation, final inspection and permit closeout are separate milestones. Homeowners should request the relevant project documentation and verify that required inspections have been approved.
Keep copies of the product approvals, warranty information and installation records. These documents may help with maintenance, future renovations or wind mitigation verification. A wind mitigation inspection for insurance purposes is separate from the building department’s final inspection.
Plan Your Impact Window Installation With Guardian Shield
Guardian Shield Windows & Doors helps Florida homeowners explore residential impact window and door solutions suited to their property’s needs.
Whether you are planning a few replacements or upgrading the entire home, our team can help you discuss product options and the expected project schedule.
Contact us today to request a consultation and start planning your impact window installation in Florida.